The add-on enables you to define your own rating criterias. You will find the configuration within Confluence Administration area at "Configuration" → "Content Rating" or by clicking the “Configure” buttom from the plugin manager.
Criteria
In “Criteria” tab you will find all existing rating criterias (Default criterias are Perspicuity, Significance, Structure).

Edit
Here you can edit every aspect of the rating criterion. Press “Edit” from the list view and fill in the fields:
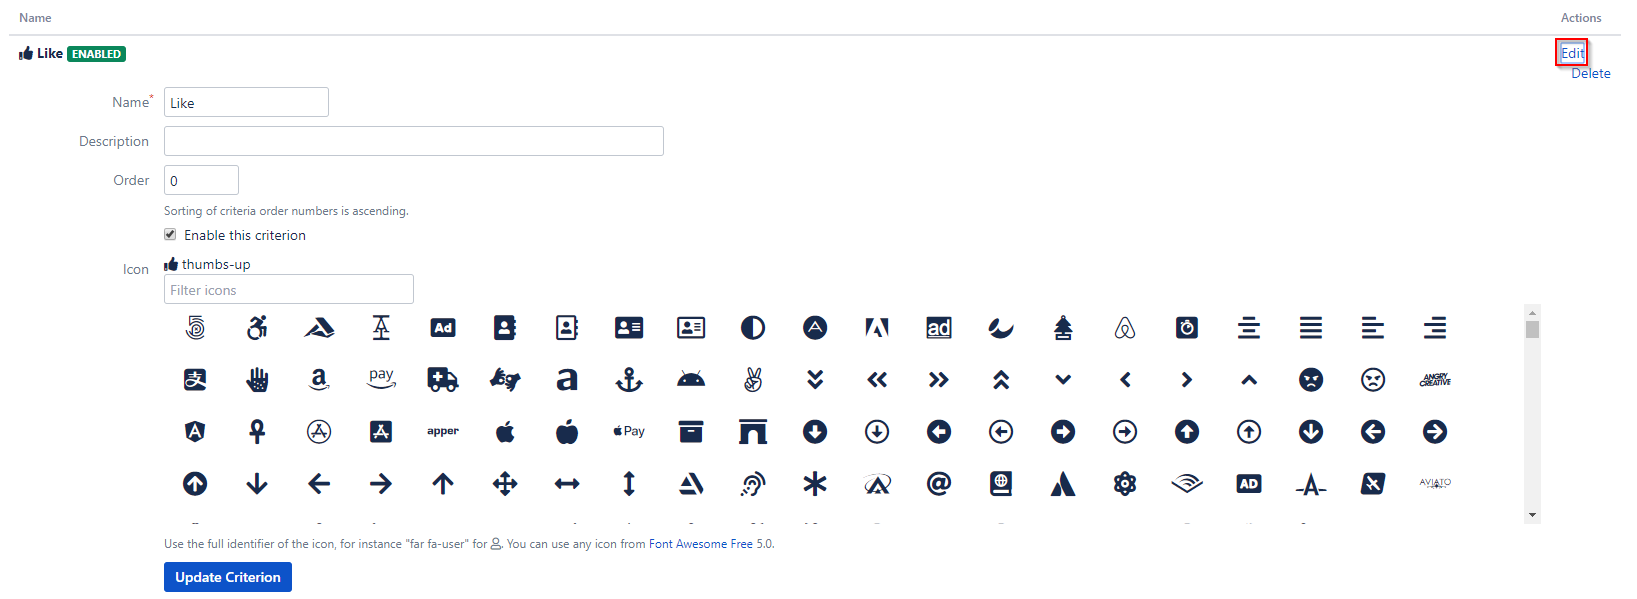
- Name: Recommended is a noun. This is the only mandatory field.
- Description: Tell users something about the meaning of this criterion.
- Order: Sorting of criteria order numbers is ascending.
- Enable: You can disable and enable criteria.
- Icon: You can define an optional Font Awesome icon for your criterion.
Be careful renaming a criterion, as this may alter the original intention of existing user ratings.
Delete
Press “Delete” from the list view and confirm the deletion.
Deleting a criterion also deletes all ratings for this criterion. Consider disabling it.
Add criterion
For adding a criterion just switch to the “Add Criterion” tab and fill in the fields:
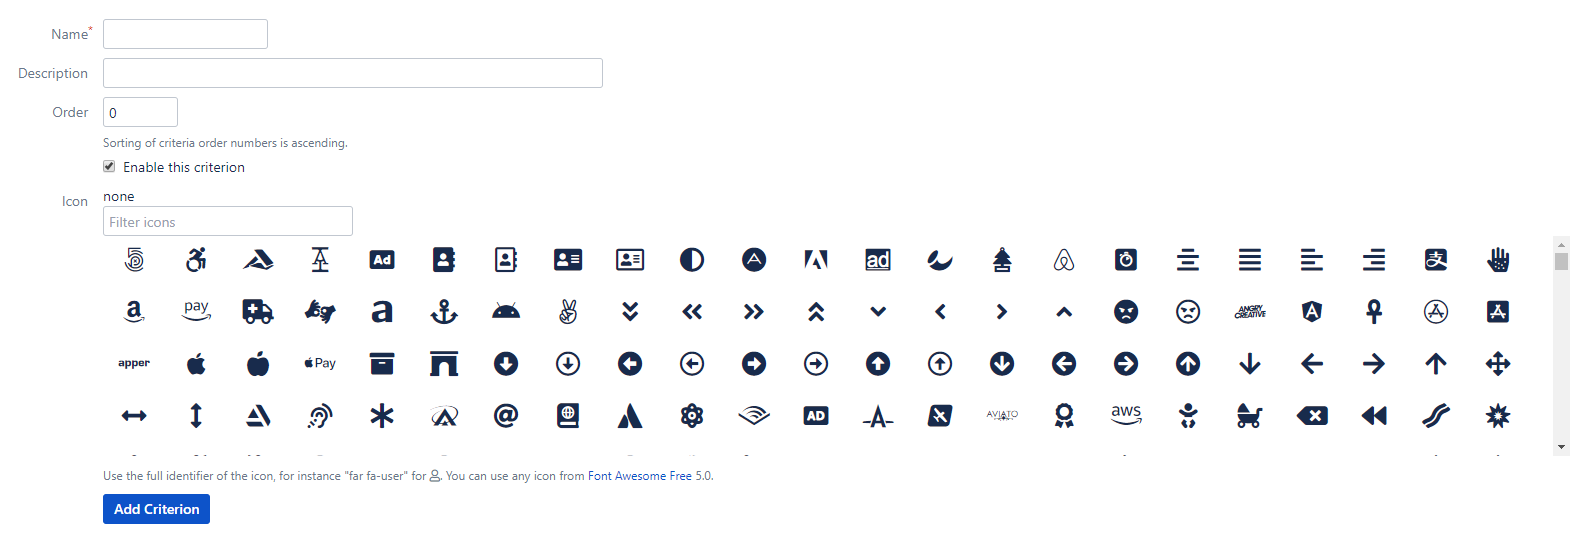
- Name: Recommended is a noun. This is the only mandatory field.
- Description: Tell users something about the meaning of this criterion.
- Order: Sorting of criteria order numbers is ascending.
- Enable: You can disable and enable criteria.
- Icon: You can define an optional Font Awesome icon for your criterion.
Settings
Modifiy global settings of rating addon in “Settings” tab.
- Insertion: Define target selector to insert rating container.
- Title
- Content
- Custom → Define custom selector to insert rating box
- Insertion Placement: Define rating container placement of target selector.
- Before
- After
- Append
- Prepend
- Insertion Style: Define inline style of rating container.
- Multiple: Check for multiple selection of rating criteria.
- Mode: Choose one of following modes
- Toggle (default)
- Toggle Small (unobtrusive design)
- Knob (wheels for more specific ratings)
- Headline: Add a headline to request user to add an rating. (Optional: If field is empty no headline will be shown.)
- Hide Result: Hide rating result in tooltip for users without content rating.
- Replace Like: Select the criterion, which will replace the original like button.
The Confluence like button will be hidden and ratings on the criterion will be stored as like instead as criterion rating. The criterion will also be hidden for anonymous user.
Restriction
- Content Type: Check content type to enable content rating for.
- Page
- BlogPost
- Space:
- Choose space restriction exclude or include to hide or show content rating in defined space keys.
- Define comma seperated list of space keys to restrict.
- Use comfortable autocomplete space search field to get and add correct key.
- Add “Disable Content Rating” macro to disable the content rating individually.
Statistics
- User Groups: Define comma seperated list of user groups with access to Content Rating Statistic. Default only system admins have access.
Reset
- Autors: User with edit permissions can reset statistic of single content.
- Space Admin: User with space admin permissions can reset statistic of space content.
- Remove all likes: All likes will be removed when resetting statistic (This works only when "Replace Like" option has selected criterion).
- Remove all likes: All likes will be removed when resetting statistic (This works only when "Replace Like" option has selected criterion).
Access
- Anonymous:
- None (default): No anonymous access of content rating for all contents
- View: View ratings of all anonymous permitted contents
- View and Rate: View and rate of all anonymous permitted contents
JIRA Issue Collector
You can use a JIRA issue collector to gather more feedback from your users.
To use a JIRA issue collector, do the following:
- Adding an issue collector for the relevant project
- Copy the URL from src out of the HTML code
- Paste it into the url field